Getting Started
In this tutorial, you will learn how to set up your Unity projects up to use STREAMSIX platform to create your Streaming Interactive Experience.
Each Unity project is a separate component of the platform. The components required to be build by the developer are the BigScreen, Client, and Actor.
Example Project
We will use the example project as a reference to show how to setup your project to run locally. You will need the following packages from STREAMSIX repo:
- example-big-screen
- example-actor-csharp
- example-mobile-client
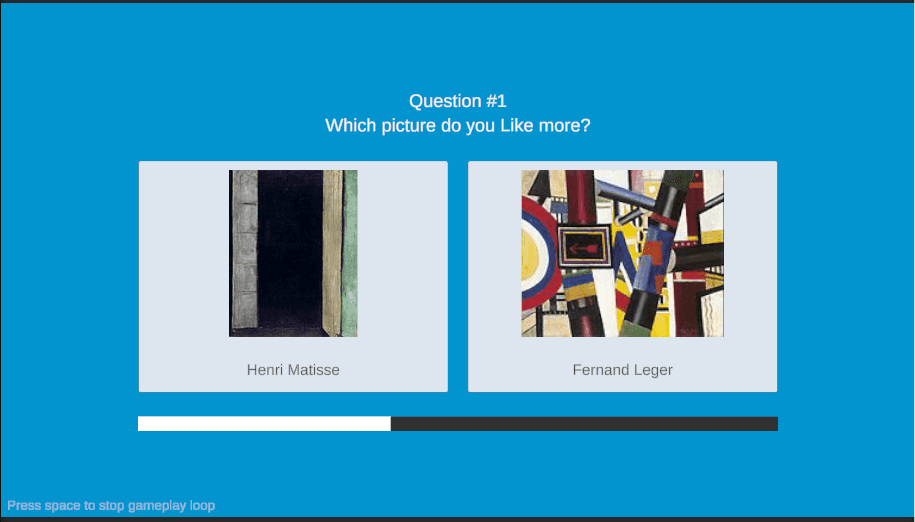
Example project is a voting game called showdown. BigScreen display two images and players vote on the images. Actor tally the result and BigScreen display the result.
First Time Setup
This section goes through setup for each of the example projects. This section should only need to be done once.
BigScreen
Example's BigScreen project already has configuration setup.
Client
Example's Client project already has configuration setup.
Actor
Open example's Actor project in Unity Editor.
Open the Debugger window from dropdown menu: STREAMSIX/Debugger:
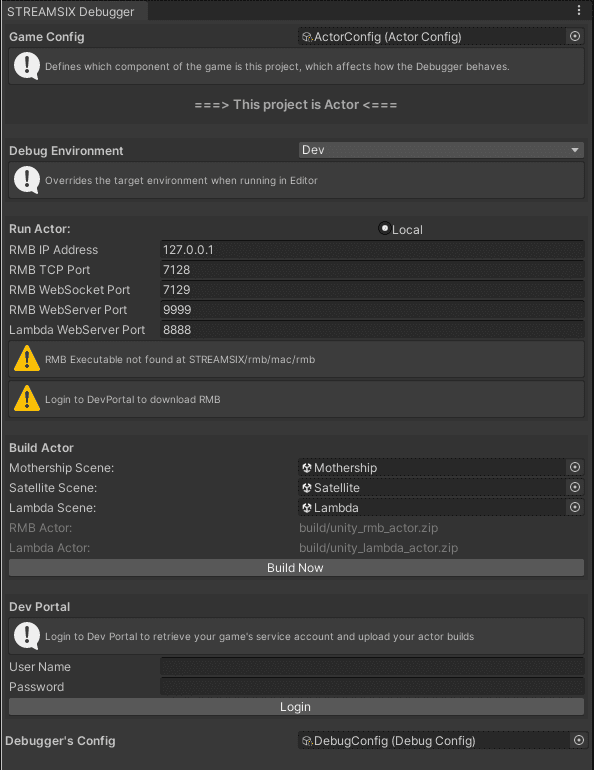
Debugger indicates that RMB executables are missing. Login to Dev Portal with your STREAMSIX developer account then the option to Download RMB will appear.
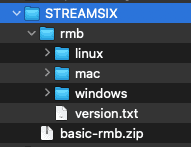
Once download is complete, the RMB are located in your project under STREAMSIX folder:
Running end-to-end locally
Local actor should be start up first, follow by BigScreen to create room. Then Client can join the room.
Actor
In example-actor-csharp project,
Open Mothership, Satellite, and Lambda scenes in the Hierachy.

In the Debugger, the Run Actor section indicates what ports will RMB use. Ensure these ports are available or change the values.
Enter PlayMode.
The Debugger will spawn two rmb process. one for mothership, another for satellite. You can verify this by looking for rmb process in the Operating System. Wait for the actor project to connect to RMB, as indicated in Debugger:

BigScreen & Client
In example-big-screen project, open the Debugger:
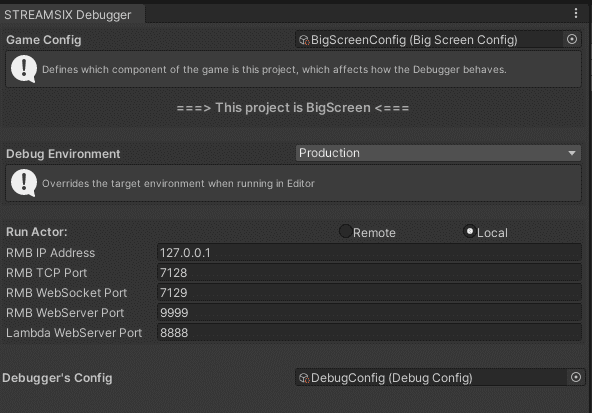
Under Run Actor section, select Local. Ensure the IP/Port match the config in actor's Debugger.
Open Main scene and start Play Mode.
The game will login as guest, create a new room in Lobby Service. Lobby Service will not assign RMB to this session because the config specify using local RMB. When a client join, Lobby Service will provide the RMB's IP, which is the local IP defined in Debugger.
Follow the in-game UI to New Game and wait for player to join.
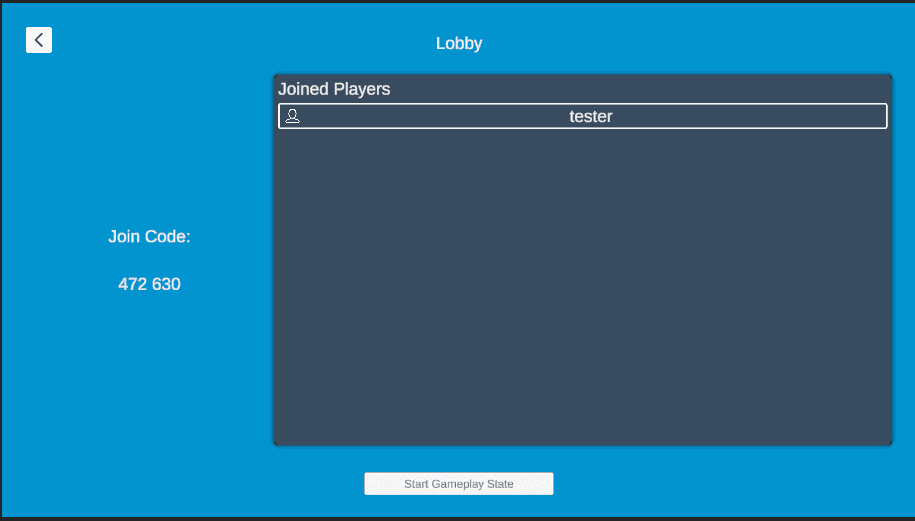
In example-mobile-client project in Unity Editor. Open Main scene and enter Play Mode.
Enter the join code displayed on the BigScreen then join the game.
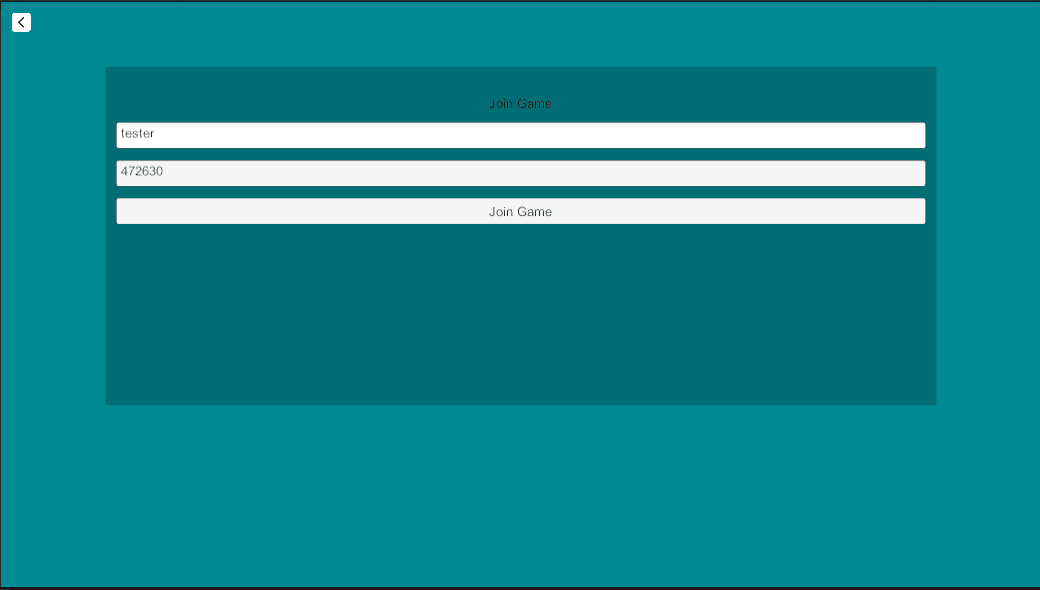
On the BigScreen, start the Gameplay State. This will start a series of questions.
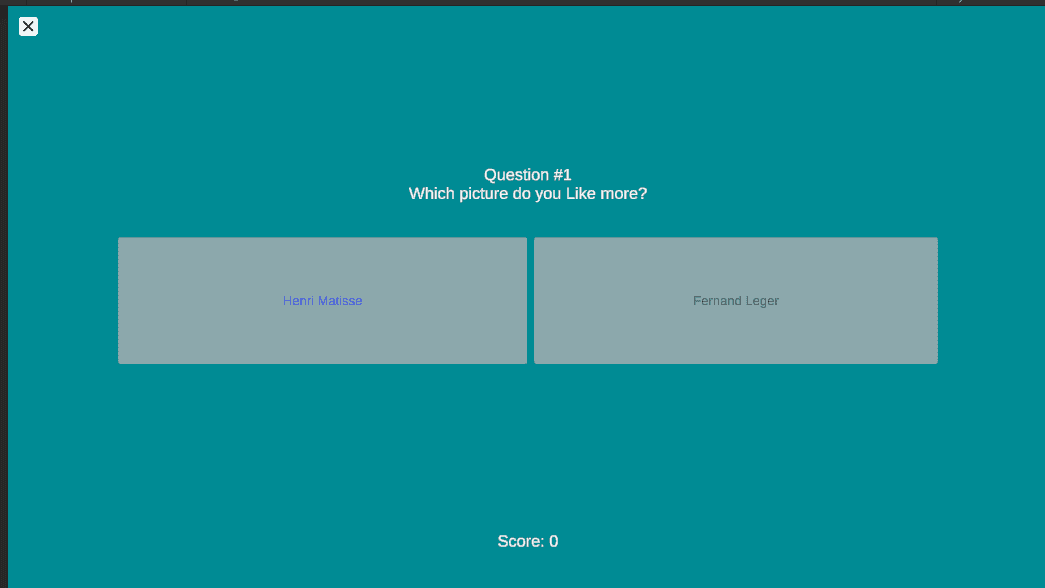
On the Client, the screen should change to a controller that lets player choose one of the option displayed on BigScreen.
Notes on debugging
Once the BigScreen exits Play Mode, the session will be deleted in Lobby Service. It's best to exit debugging in the Actor project as well, and restart everything to start a new session.
Exiting Play Mode in the Actor project should clean up the rmb process. However, if you experience issues connecting to RMB, its possible that the process was not cleaned up. So check for any running rmb processes, and stop them manually if there are.
While all three components can run locally, each component will still need to connect to the platform in the cloud. This means an internet connection is required, even for local development.
If you encounter errors about an assembly not being loaded because some dependency uses an earlier version, restarting the editor will usually resolve the error.
If you encounter an error related to FileIOPermission exists in both System.Security.Permissions and mscorlib, this is a conflict between SDK and Unity's Version Control package. Remove the Version Control package to resolve this error.