Getting Started
In this tutorial, you will learn how to set up your Unity and Visual Studio projects up to use STREAMSIX platform to create your Streaming Interactive Experience.
Each Unity or Visual Studio project is a separate component of the platform. The components required to be build by the developer are the BigScreen component, the Client, and the Actor.
Example Project
We will use the example project as a reference to show how to setup your project to run locally. You will need the following packages from STREAMSIX repo:
- example-big-screen
- example-actor-csharp
- example-mobile-client
- basic-rmb
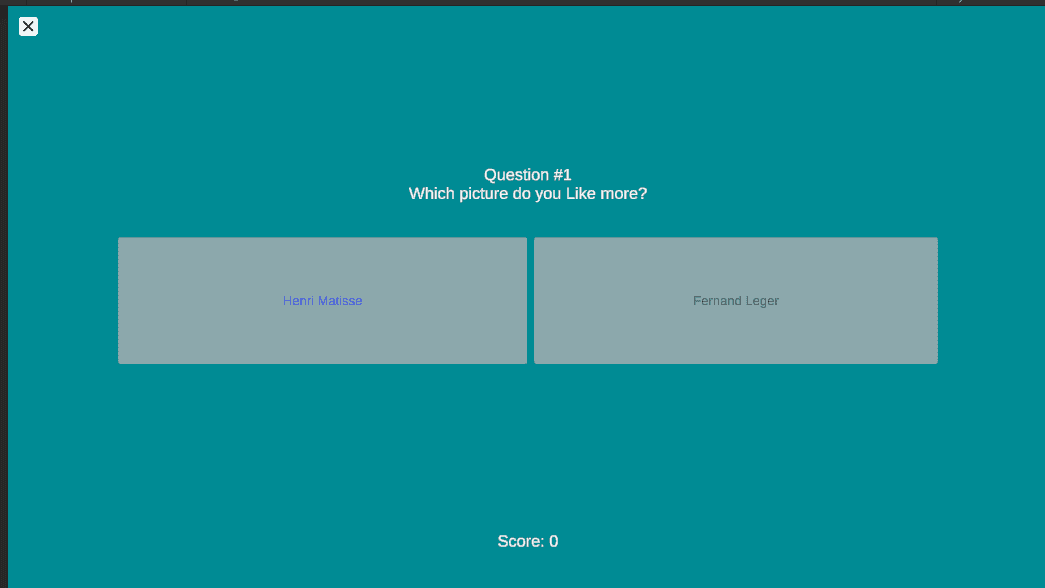
Example project is a voting game called showdown. BigScreen display two images and players vote on the images. Actor tally the result and BigScreen display the result.
First Time Setup
This section goes through setup for the example project. This section should only need to be done once.
BigScreen
Open example-big-screen project in Unity Editor.
Ensure LOCAL_BUILD is defined in Project Settings. This makes the game use BigScreenConfigLocal which use LocalRMBConfig.

Select LocalRMBConfig asset in Inspect and set the Local IP. 127.0.0.1 usually works. If not, try use your local network IP. You can use your internet IP but your router must be able to route traffic to your local machine.
Client
Client project has no additional setup required.
Actor
In example-actor-csharp project, open showdown solution file in Visual Studio.
Set actor as the active project.
The csharp solution has the following projects:
actor - spawns RMB process and connects the actor to RMB. This is used to debug the actor in visual studio.controller - the main loop of the actor's processmodel - any data structure shared by mothership and satellite actormothership - the mothership actorms_standalone - project to build mothership actor executablesatellite - the satellite actorsat_standalone - project to build satellite actor executable
Add nuget repository
In Visual Studio, open NuGet Package Source manager, and add a new source:
The location is https://repo.streamsix.com/repository/nuget-snapshot-local
Use your Nexus credential as login.
Add rmb executable
Extract basic-rmb package to under lib/bin/
Make sure the executable has permission to run on your machine.
For example, run
chmod +x lib/bin/linux/amd64/rmb
On macos, you would need to go into Security&Privacy panel to allow the app to run.
Copy the exe to a sub folder named /sat. The complete structure is as follows:
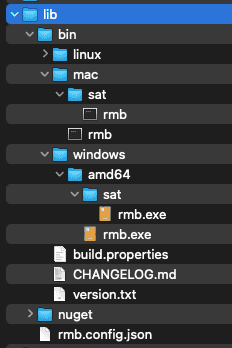
The code in actor project that spawn the rmb process should match to the directory structure:
var osVersion = Environment.OSVersion;if (osVersion.Platform == PlatformID.Win32NT || osVersion.Platform == PlatformID.Win32Windows ||osVersion.Platform == PlatformID.Xbox){path = $"lib/bin/windows/amd64/rmb.exe";}elseif (osVersion.Platform == PlatformID.Unix){//always return mac for nowpath = $"lib/bin/mac/rmb";}
As well as the process argument which points to lib/rmb.config.json
process.StartInfo.Arguments = "-cfg ../../rmb.config.json";
Running end-to-end
Local actor should be start up first, follow by BigScreen to create room. Then Client can join the room.
Actor
Run the actor project in Visual Studio. The actor project launch rmb process then connects the csharp actor to rmb.
You should see the following output:
2022-08-29 17:29:53,545 INFO actor.Showdown - Args =2022-08-29 17:29:53,744 INFO actor.Showdown - [StreamSIX.EntityClient constructor]2022-08-29 17:29:53,776 INFO actor.Showdown - [StreamSIX.LeaderboardClient constructor]2022-08-29 17:29:54,011 INFO actor.Showdown - Waiting for RMB to connect2022-08-29 17:29:54,461 INFO actor.Showdown - New RMB connected.2022-08-29 17:29:54,468 INFO actor.Showdown - Waiting for RMB to connect2022-08-29 17:29:54,478 INFO actor.Showdown - Spawner received raw message: {"init":true}2022-08-29 17:29:54,584 INFO actor.Showdown - New RMB connected.2022-08-29 17:29:54,587 INFO actor.Showdown - Waiting for RMB to connect2022-08-29 17:29:54,589 INFO actor.Showdown - Spawner received raw message: {"init":true}2022-08-29 17:29:54,830 INFO actor.Showdown - Received init request2022-08-29 17:29:54,830 INFO actor.Showdown - Received init request2022-08-29 17:29:55,192 INFO actor.Showdown - Initialized rmb with {"pid":61640,"games":{"showdown":true}}2022-08-29 17:29:55,192 INFO actor.Showdown - Initialized rmb with {"pid":61640,"games":{"showdown":true}}
Two rmb process are spawned, one for mothership, another for satellite.
BigScreen & Client
In example-actor-csharp project, open Main scene and start Play Mode.
The game will login as guest, create a new room in Lobby Service. Lobby Service will not assign RMB to this session because the config specify using local RMB. When a client join, Lobby Service will provide the RMB's IP, which is the local IP defined in LocalRMBConfig.
Follow the in-game UI to New Game and wait for player to join.
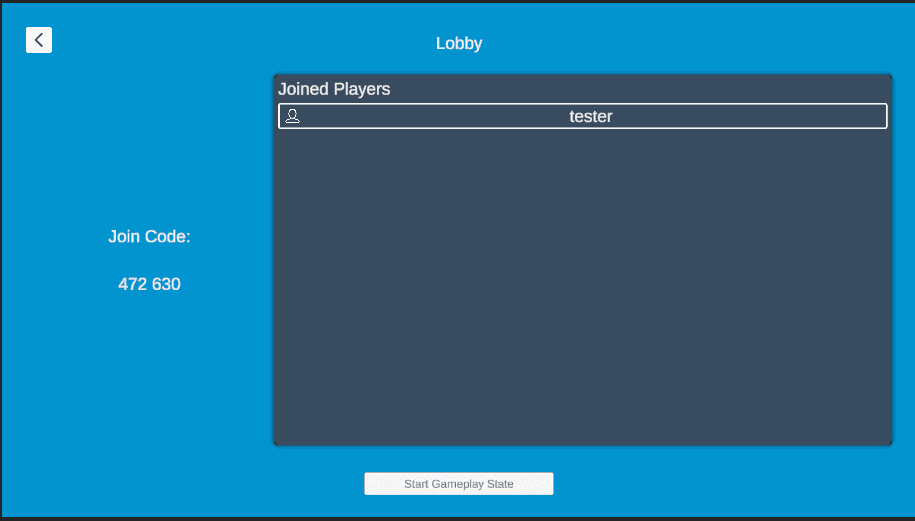
In example-mobile-client project in Unity Editor. Open Main scene and enter Play Mode.
Enter the join code displayed on the BigScreen then join the game.
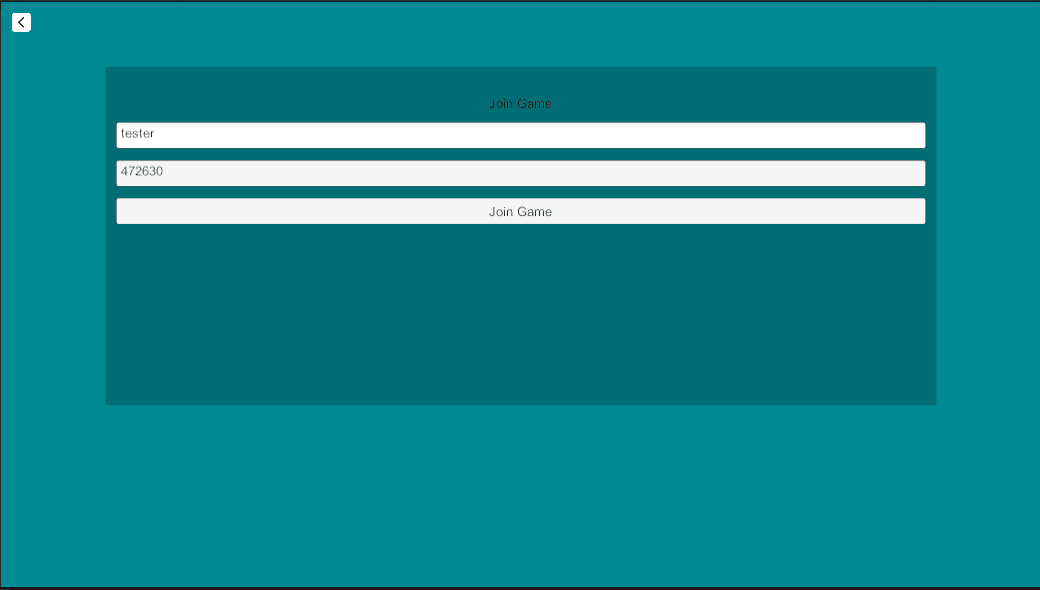
On the BigScreen, start the Gameplay State. This will start a series of questions.
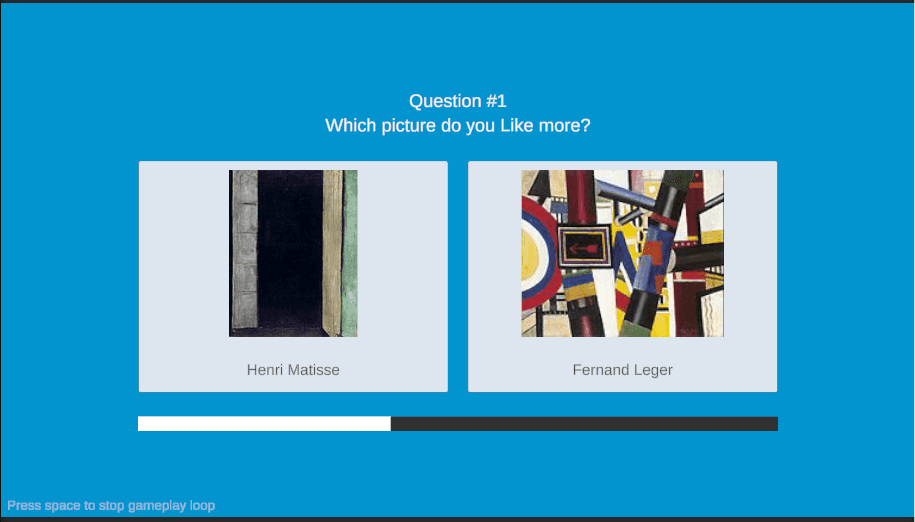
On the Client, the screen should change to a controller that lets player choose one of the option displayed on BigScreen.
Notes on debugging
Once BigScreen exit the Play Mode, the session is deleted in Lobby Service. It's best to exit debugging in Actor project as well, and restart everything for a new session.
Exiting debug mode in Actor project should clean up rmb process. However, if there is issue connecting to RMB, see if there are any left over rmb process running and stop them manually.
While all three components are running locally, each component still connects to the platform in the cloud, such as Lobby Service, Leaderboard, Entity, and Auth. This means internet connection is required even more local development.